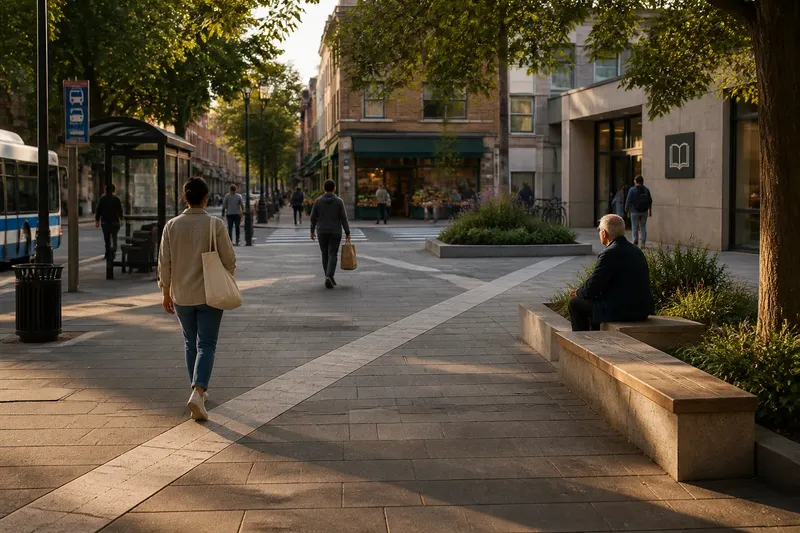
A Commuter’s Landmark Check for an Unfamiliar Route
A commuter landmark check turns an unfamiliar city route into a short sequence of visible reference points, making each transition easier to recognize.

Which landmarks should you remember before taking an unfamiliar city route? A commuter landmark check is not a hunt for the grandest building; it is a quick way to choose a few visible, dependable reference points and arrange them in travel order. The aim is to recognize where you are in the journey without storing every street name and turn in your head.
Start with the route itself. Open a map app, trace the trip from departure to destination, and note where the route changes character: a station exit, a bridge crossing, a turn off a busy avenue, or the approach to a large public space. Those transitions are better candidates than every intersection. A useful landmark tells you that the next part of the trip is beginning.
Choose by travel situation
The best reference points depend on how you are moving. A commuter on foot can use details that would vanish from a passing vehicle; someone on a bus needs broader features visible through windows and useful from the correct direction. Choose for the actual trip, not for an imaginary version with unlimited time to stop and admire masonry.
- Walking on a short route: Check whether a station entrance, distinctive corner building, or park gate falls near the start, a consequential turn, or the destination. If one does, use it to mark that segment; if none is visible from your approach, choose another feature on the route.
- Walking across a confusing district: Check for a canal crossing, broad avenue, or large plaza that divides the trip into clear segments. If the route crosses one, use it as a transition marker; if not, choose a different major change in the surroundings.
- Riding a bus or tram: Check whether a stadium, hilltop structure, or major intersection is visible from the vehicle on the side you will approach. If it is, use it to recognize the stop or segment; if buildings block it, choose a more visible feature or rely on the stop display and map.
- Changing between transit lines: Check which station exit or concourse feature identifies the correct way out. If it is clearly marked, use it before choosing an outside reference point; if the station has several similar exits, confirm the exit on the transit map or posted signs.
- Traveling after dark or in poor weather: Check whether each candidate is well-lit and substantial enough to distinguish in the conditions. If it remains visible, keep it; if not, replace it with a brighter station canopy or public building and retain the map as backup.
- Approaching the destination: Check whether the destination entrance is visible from the final street or whether a nearby corner provides a clearer cue. If the entrance is easy to identify, use it as the endpoint; if it is set back or obscured, use the corner and confirm the address before turning in.
Test each candidate
A landmark earns a place in the sequence when it is easy to spot, stable enough to remain recognizable, and close enough to the route to matter. A temporary food cart may be memorable today and absent tomorrow. A church tower, bridge, station entrance, or broad park boundary is usually less dependent on what happens to be open.
Check visibility from your direction of travel. A tall tower can be an excellent distant guide, but it may disappear behind a row of buildings just where you need to turn. A painted mural can be vivid on the approach and invisible from the opposite sidewalk. Look at the map, then use street-level imagery if available to check sightlines and the side of the street.
Keep the sequence compact. Too many markers recreate the problem of memorizing every turn, only with more nouns. A useful chain might read: station exit, bridge, library corner, destination entrance. Say each point in order and attach one action to the transition: cross at the bridge, turn after the library. This creates a simple mental route rather than a collection of attractions.
Build the sequence
Imagine you are arriving at a central station and walking to an office on a side street. These are invented route details: the map shows a large square, a bridge over a canal, and a library near the final turn. First, choose the station’s north exit as the starting point. Next, use the bridge as the middle marker and the library as the cue to turn. Then check the order on the map: leave by the north exit, cross the canal, and look for the office street after the library. The resulting route has three observable checkpoints. If the library is set back from the sidewalk, replace it with the nearest prominent corner; the tradeoff is a less distinctive cue but a clearer view from the walking route.
Give each marker a plain visual description, not just a name. “The bridge with the stone arches” is easier to distinguish from another crossing than “bridge.” “The library with the glass entrance facing the square” links the building to a visible approach. Descriptions should be brief enough to recall while walking, when attention is also needed for traffic and other people.
Before leaving, check that the chosen points occur in the same order on your map and in the direction you will travel. Confirm transit exits, route changes, and any pedestrian-only passages in the app or station information. For local access rules and service changes, follow posted notices and the transit operator’s guidance.
When do landmarks fail?
What makes a good route landmark?
Choose something distinctive, visible from your approach, and unlikely to move or disappear. It should also mark a useful transition, such as a crossing or a turn, rather than merely decorate the mental list.
Should I use street names too?
Yes, when a name helps confirm the next segment, especially at a complicated junction. Pair it with a visible feature rather than relying on a sign alone, since signs can be missed or placed beyond the point where a decision is needed.
What if the route has few obvious landmarks?
Use larger changes in the surroundings: a wide road, a railway line, a park edge, or a change from a pedestrian passage to a busy street. Confirm those transitions against the map and retain the app for the stretches that offer little visual distinction.
How many points should I keep in mind?
Use only enough to divide the trip into manageable sections, usually a small handful for an ordinary city journey. Add a point when it resolves a real uncertainty, not merely because another building caught your eye.
Keep a fallback
A landmark sequence is a memory aid, not a substitute for checking the route when a street is closed or a station exit is unavailable. Save the destination in your map app, note the nearest cross street, and glance at the route before each major transition. If the view differs from what you expected, pause somewhere clear of foot traffic and compare the map with the surroundings.
For your next unfamiliar trip, make the commuter landmark check around the decisions that matter: which way out, where the route changes, and how the destination announces itself. A few well-chosen references give the journey a shape. The less useful landmarks can remain where they are, looking impressive to someone else.